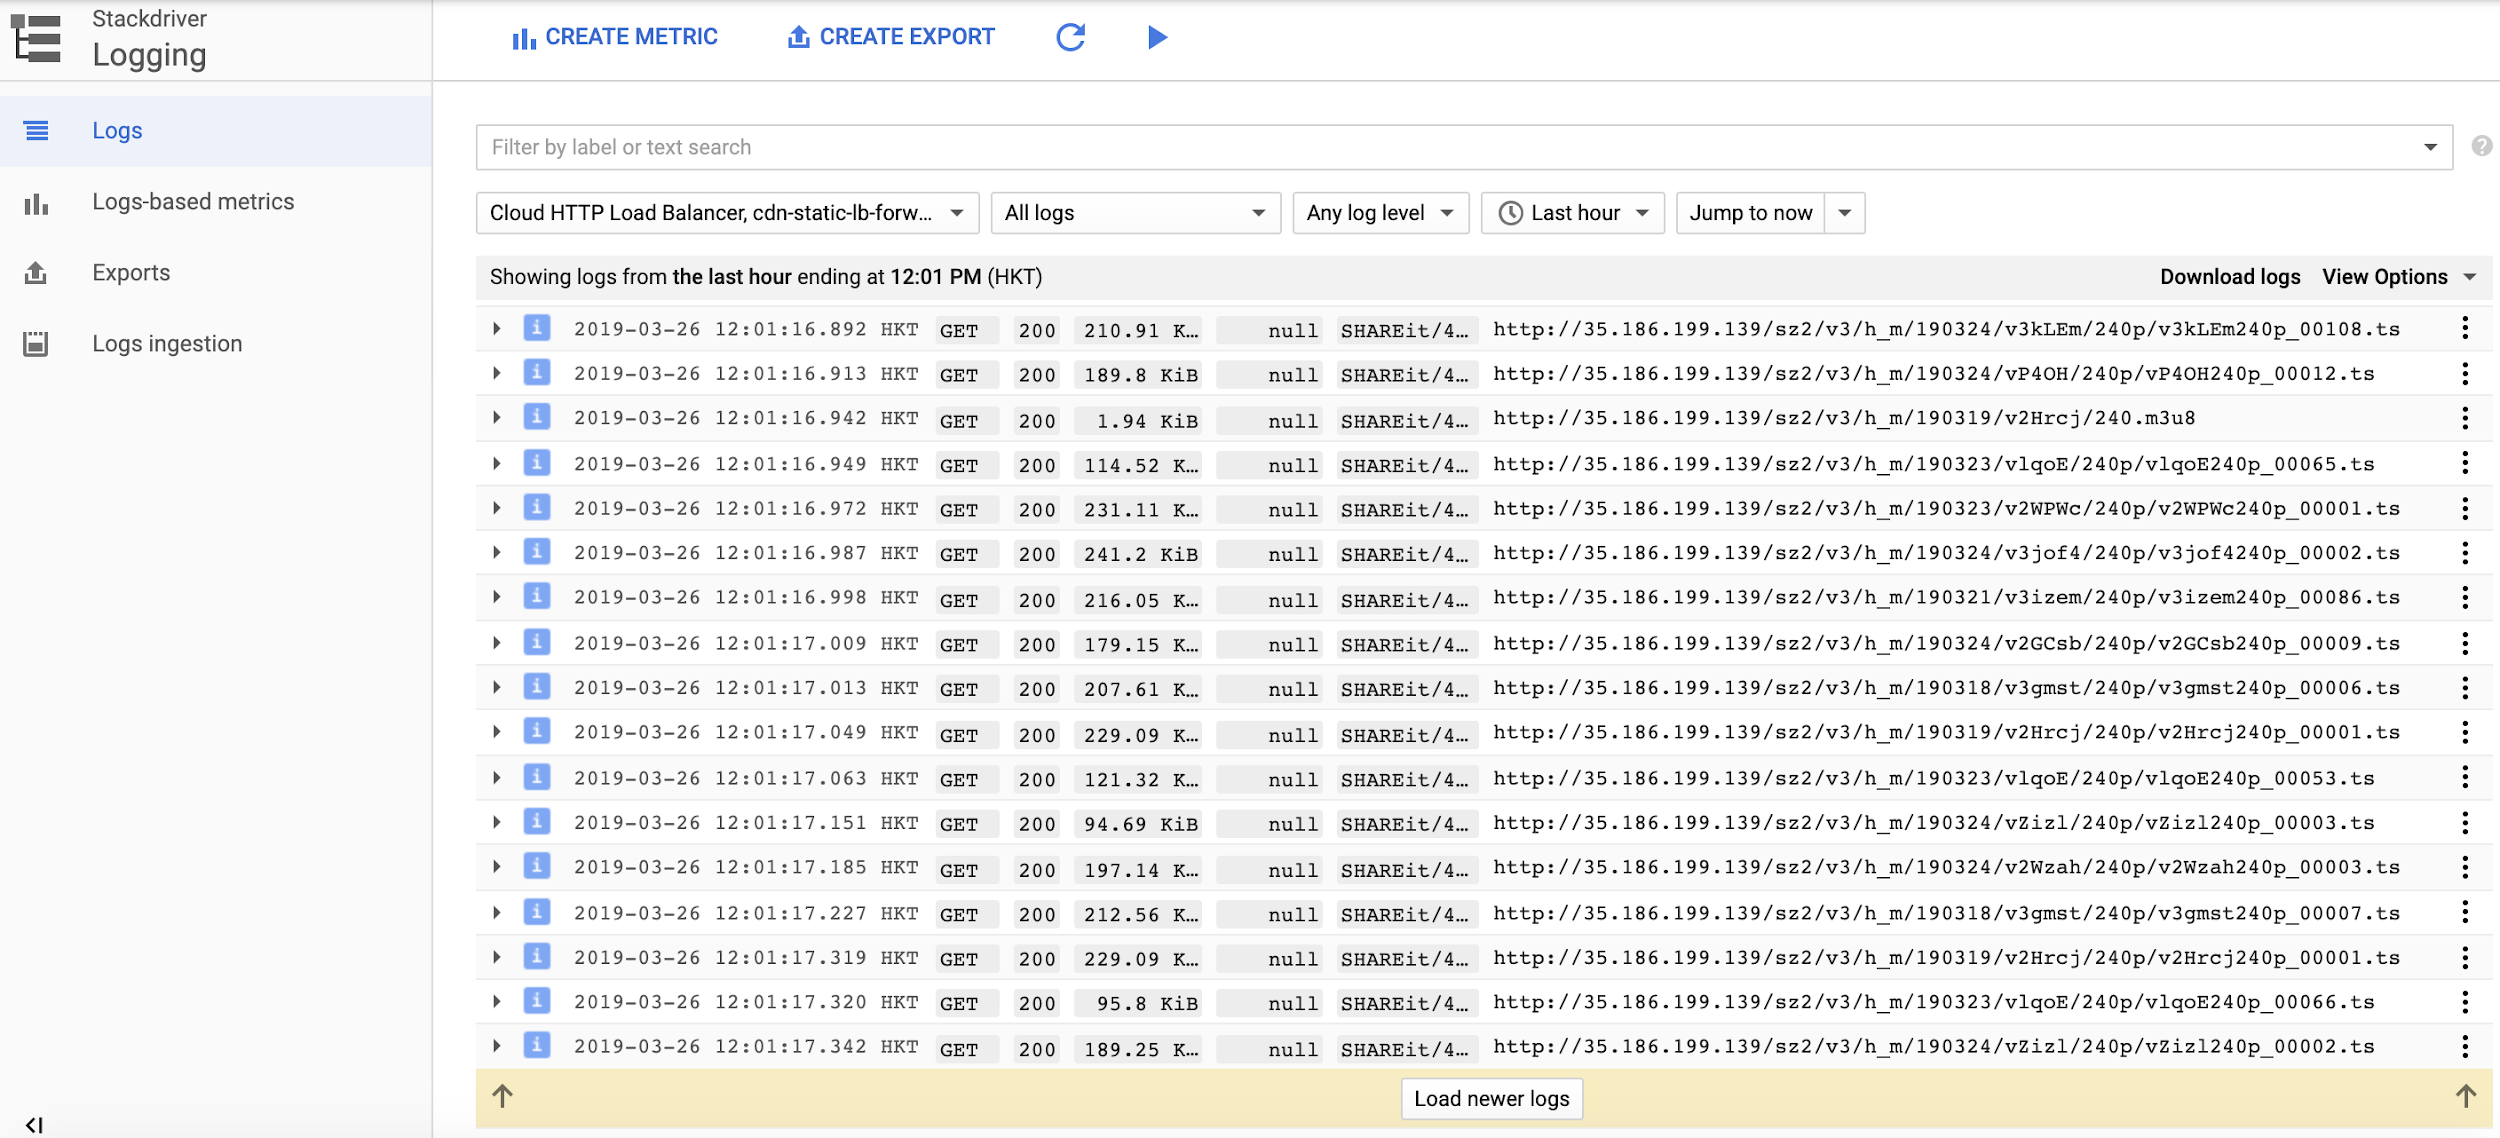
Google Cloud可通过 Stackdriver Logging 提供实时的负载均衡 / CDN 日志。
当用户要将日志导出到自己的日志处理或监视系统之时,他们可以选择将 Stackdriver 日志导出到 Google Cloud Storage 或 Google Cloud Pub / Sub ,这使外部工具可以从各自的存储中检索日志。由于导出到 Google Cloud Storage 的过程是每小时进行的,并且通常会延迟 2-3 小时,因此使用 Pub / Sub 是更为理想的选择,尤其是需要低延迟处理的时候。
然而,在导出日志到 Pub/Sub 时,格式为预定义的 JSON 字符串,如下所示。
"httpRequest":{"cacheHit":true,"cacheLookup":true,"remoteIp":"47.9.225.153","requestMethod":"GET","requestSize":"258","requestUrl":"http://35.186.123.123/sz2/v3/h_m/190116/v1WE7o/240p_6.m3u8","responseSize":"5663","status":200,"userAgent":"Someagent/4.7.18_ww (Linux;Android 8.0.0) ExoPlayerLib/2.8.4"},"insertId":"12ufqm4g22a5lxc","jsonPayload":{"@type":"type.googleapis.com/google.cloud.loadbalancing.type.LoadBalancerLogEntry","statusDetails":"response_from_cache"},"logName":"projects/your_project/logs/requests","receiveTimestamp":"2019-03-19T05:32:38.196703011Z","resource":{"labels":{"backend_service_name":"","forwarding_rule_name":"cdn-static-lb-forwarding-rule","project_id":"your_project","target_proxy_name":"cdn-static-lb-target-proxy","url_map_name":"cdn-static-lb","zone":"global"},"type":"http_load_balancer"},"severity":"INFO","spanId":"9450bbf396adb07b","timestamp":"2019-03-19T05:32:37.345092429Z","trace":"projects/your_project/traces/34078fcedc28912261bd05b66cd86f05"}复制代码
当客户在建立日志处理系统时,他们通常有统一预定义的日志格式,尤其是对于网络访问日志,这些格式具有多种来源(例如其他 CDN 供应商)。并且还要求从 GCP 导出的日志也必须遵循这种格式。
在 GCP 上,我们可以使用 Cloud Dataflow 转换数据,并将其从多种来源输出到不同的目的地。在这种情况下,可以将流模式下来自 Pub/Sub 的日志消息,转换为客户所需的格式,并输出到 Google Cloud Storage 上,以供外部工具下载。此工作流程的体系结构如下。
假设已将日志从 Stackdriver 导出到 Pub / Sub 主题。而且,Pub/Sub 消息队列中的日志记录已准备好进行处理。我们将采取以下步骤,来设置简单的 Dataflow 流传输管道以进行日志转换和输出。
1.从Github 下载开源的 Dataflow Google 模板
git clone https://github.com/GoogleCloudPlatform/DataflowTemplates
复制代码
复制DataflowTemplates/src/main/java/com/google/cloud/teleport/templates/PubsubToText.java ,并在同一文件夹下,将它重命名为 TransformDumpLog.java, 然后将代码中的 PipelineResult 修改为以下内容。
public static PipelineResult run(Options options) {// Create the pipelinePipeline pipeline = Pipeline.create(options);/** Steps:* 1) Read string messages from PubSub* 2) Window the messages into minute intervals specified by the executor.* 3) Output the windowed files to GCS*/pipeline.apply("Read PubSub Events", PubsubIO.readStrings().fromTopic(options.getInputTopic())).apply("Transform", ParDo.of(new DoFn<String, String>(){@ProcessElementpublic void processElement(ProcessContext context) {String message = context.element();JSONObject mgsObj = new JSONObject(message);JSONObject httpReqObj = (JSONObject) mgsObj.get("httpRequest");String remoteIp = httpReqObj.getString("remoteIp");String url = httpReqObj.getString("requestUrl");String status = new Integer(httpReqObj.getInt("status")).toString();String timestamp = mgsObj.getString("timestamp");String transformedLog = "GCP, " + remoteIp + ", " + url + ", " + status + ", " + timestamp;context.output(transformedLog);}})).apply(options.getWindowDuration() + " Window",Window.into(FixedWindows.of(DurationUtils.parseDuration(options.getWindowDuration()))))// Apply windowed file writes. Use a NestedValueProvider because the filename// policy requires a resourceId generated from the input value at runtime..apply("Write File(s)",TextIO.write().withWindowedWrites().withNumShards(options.getNumShards()).to(new WindowedFilenamePolicy(options.getOutputDirectory(),options.getOutputFilenamePrefix(),options.getOutputShardTemplate(),options.getOutputFilenameSuffix())).withTempDirectory(NestedValueProvider.of(options.getOutputDirectory(),(SerializableFunction<String, ResourceId>) input ->FileBasedSink.convertToFileResourceIfPossible(input))));// Execute the pipeline and return the result.return pipeline.run();}复制代码
还将类名称从 PubsubToText 更改为 TransformDumpLog ,并添加如下的 import 指令。
import org.apache.beam.sdk.transforms.DoFn;import org.apache.beam.sdk.transforms.ParDo;import org.json.JSONObject;import java.lang.String;import org.apache.beam.sdk.values.PCollection;
复制代码
请注意,此行需要用所需格式重写日志项。
String transformLog == "GCP, " + remoteIp + ", " + url + ", " + status + ", " + timestamp;
3.构建修改后的模板,然后上传到 Google Storage 。以下是相关的命令行。
TEMPLATE_BUCKET=your_template_bucketLOG_OUTPUT_BUCKET=your_bucketPROJECT_ID=your_projectmvn compile exec:java-Dexec.mainClass=com.google.cloud.teleport.templates.TransformDumpLog-Dexec.cleanupDaemonThreads=false-Dexec.args="--project=${PROJECT_ID} --stagingLocation=gs://${TEMPLATE_BUCKET}/dataflow/pipelines/staging --tempLocation=gs://${TEMPLATE_BUCKET}/dataflow/pipelines/temp --templateLocation=gs://${TEMPLATE_BUCKET}/dataflow/pipelines/templates/TransformDumpLog.json --runner=DataflowRunner --windowDuration=5m --numShards=1 --inputTopic=projects/${PROJECT_ID}/topics/pubsub_cdn_log --outputDirectory=gs://${LOG_OUTPUT_BUCKET}/cdn_log_export/ --outputFilenamePrefix=log --outputFilenameSuffix=.txt"--tempLocation=gs://${TEMPLATE_BUCKET}/dataflow/pipelines/temp --templateLocation=gs://${TEMPLATE_BUCKET}/dataflow/pipelines/templates/TransformDumpLog.json --runner=DataflowRunner --windowDuration=5m --numShards=1 --inputTopic=projects/${PROJECT_ID}/topics/pubsub_cdn_log --outputDirectory=gs://${LOG_OUTPUT_BUCKET}/cdn_log_export/ --outputFilenamePrefix=log --outputFilenameSuffix=.txt"复制代码
请注意,以上命令包含多个选项,包括用于存储临时文件,最终模板和输出日志文件的 Google Storage 位置,以及输入的 Pub/Sub 主题等。
4.执行模板以启动数据流流传输管道,以转换和输出 Pub/Sub 中的日志。
gcloud dataflow jobs run log-dump --gcs-location=gs://${TEMPLATE_BUCKET}/dataflow/pipelines/templates/TransformDumpLog.json--region=asia-east1复制代码
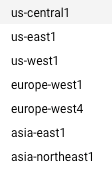
注意,如果想要更改数据流正在工作的区域,请从支持的区域之中进行选择。
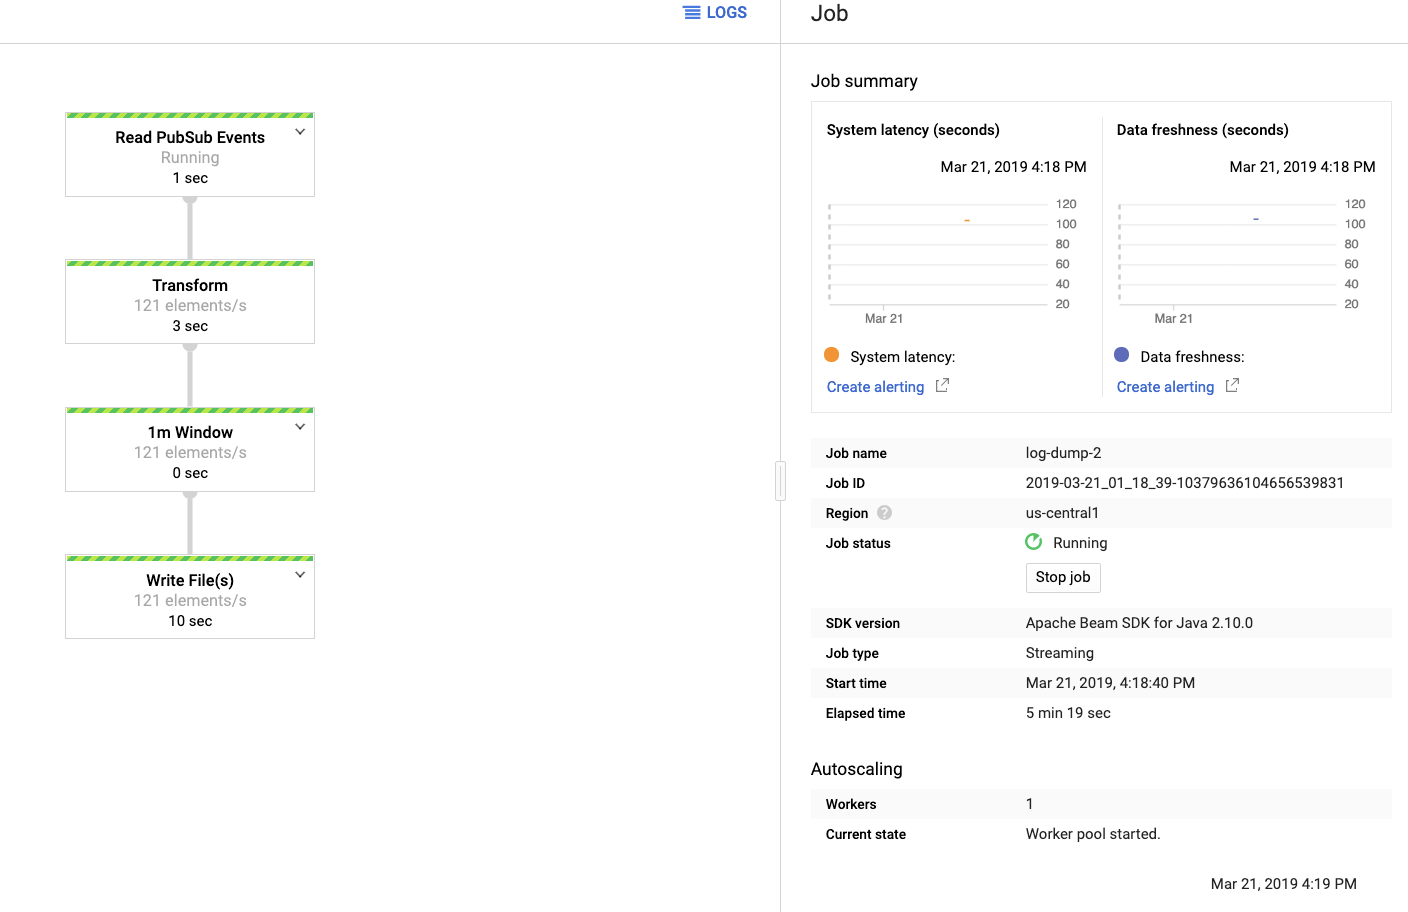
然后我们可以到谷歌云端 Dataflow 的控制台,观看数据流的执行状态。
然后我们可以到Google云端 Dataflow 的控制台,观看数据流的执行状态。
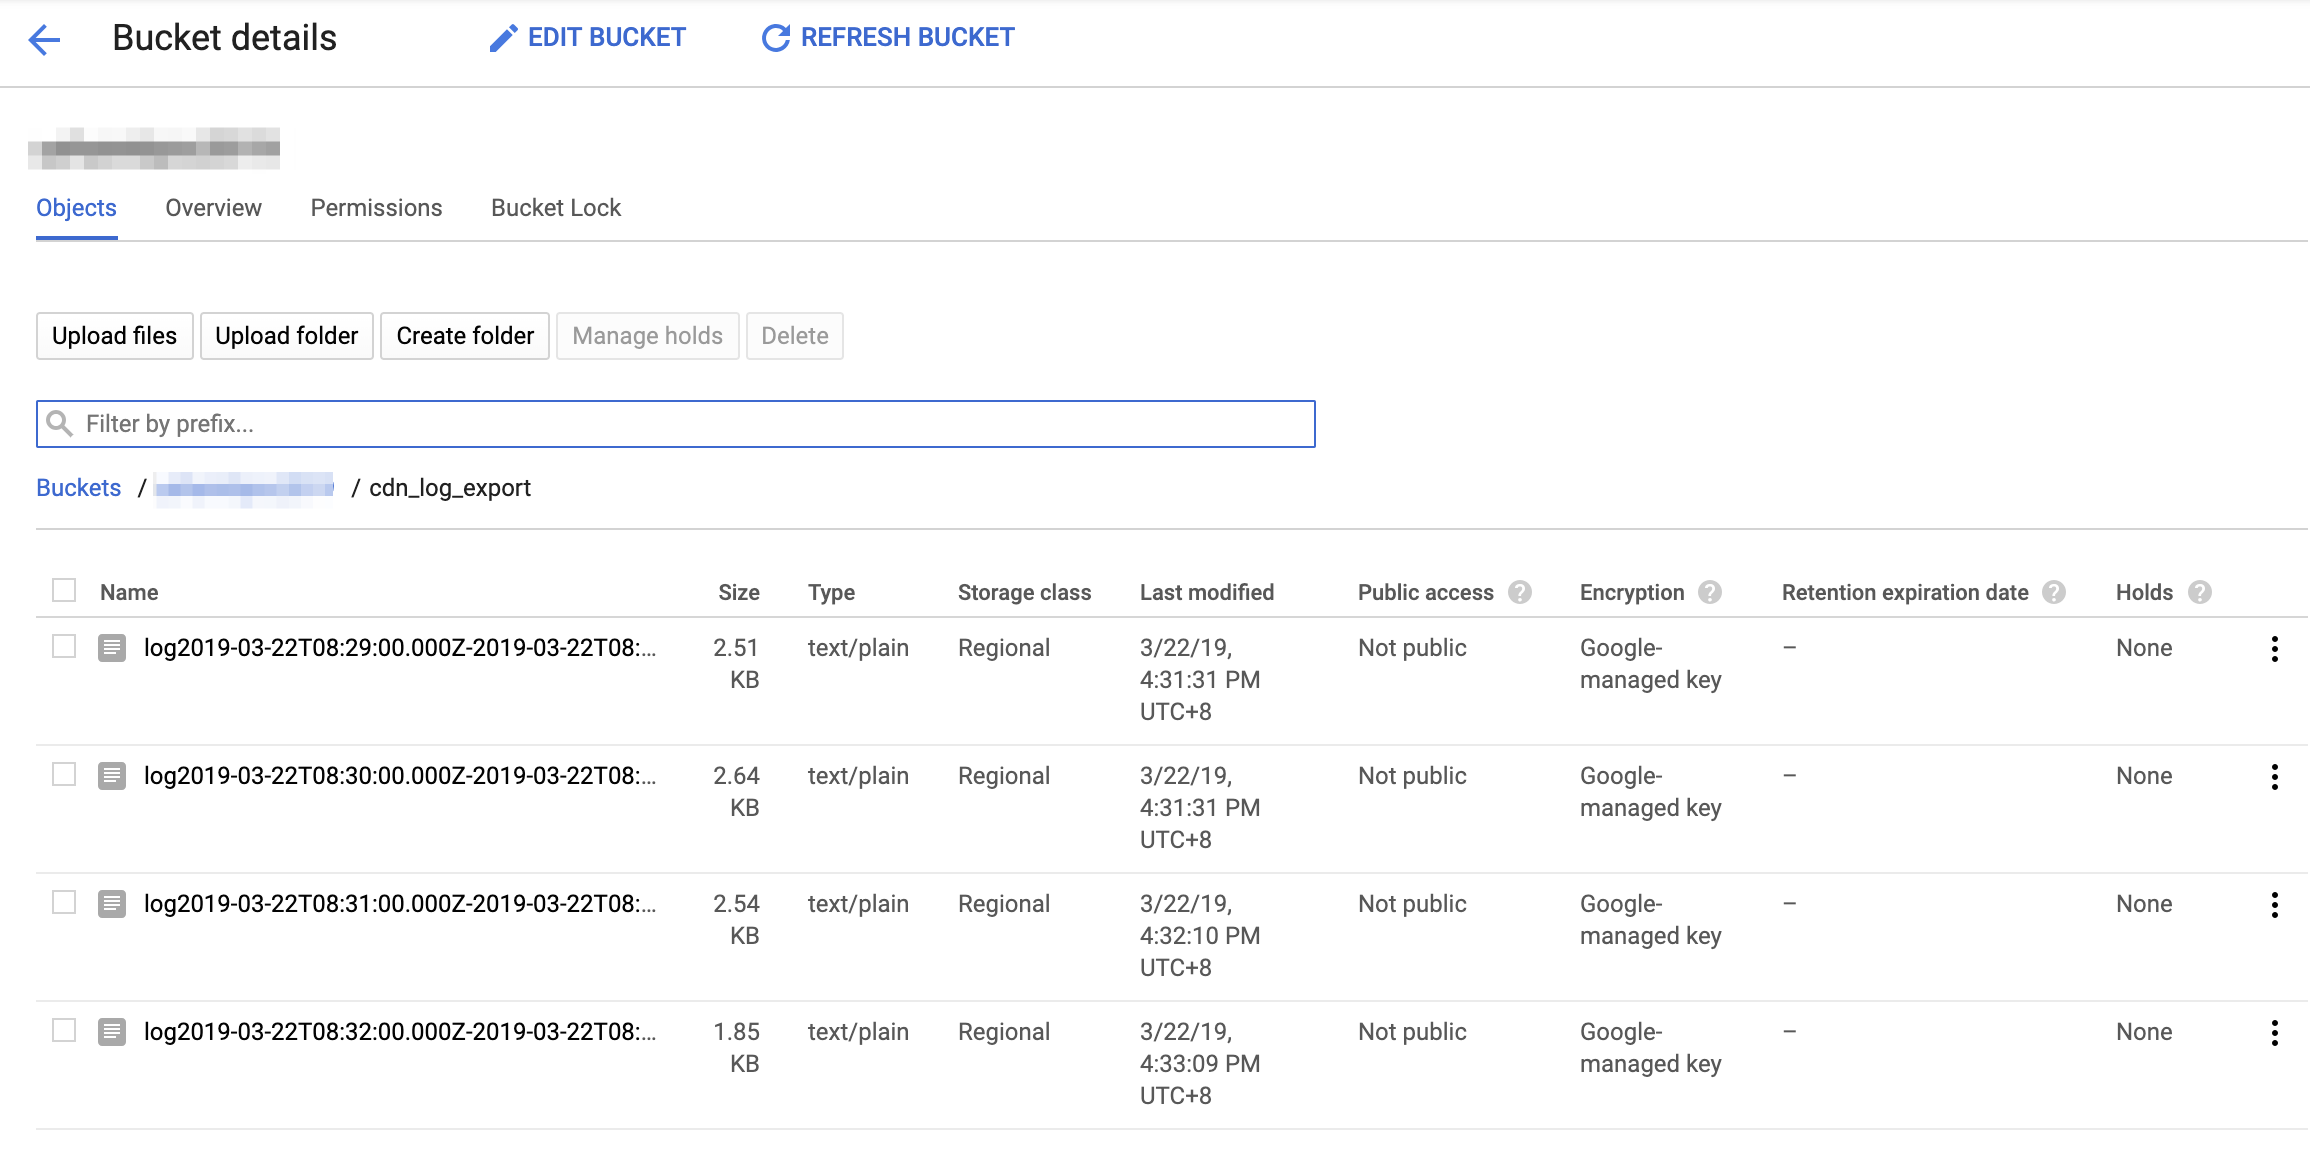
打开输出日志文件,然后查看日志格式是否符合预期。
注意:以上指南仅用于演示。如果被用于生产,您需要仔细设计输出格式,位置,流窗口等。此外,您可能还需要更改数据流执行的默认选项,例如机器类型和数据流节点的最大值,以实现更加经济高效的执行。
文章版权归作者所有,未经许可不得转载。